How to Paint a Feature Wall That Really Stands Out
A feature wall (or accent wall) can transform a room in a single stroke — adding depth, personality, and focus. With the right planning, prep, and technique, you can paint one wall that commands attention without overwhelming the space. Use this step‑by‑step guide to get clean lines, smooth coverage, and a result you'll love.
1. Choose the Right Wall & Color
- Pick a wall that naturally draws the eye — behind the bed, sofa, or fireplace.
- Avoid walls with lots of windows, doors, or obstructions.
- Make sure the lighting supports your choice — test how light and shadow affect your color.
- Use the 60‑30‑10 rule: 60% neutral, 30% secondary, 10% accent — let your feature wall be your 30% or 10%.
2. Gather Tools & Materials
You’ll need:
- Drop cloths or plastic sheeting
- Painter’s tape
- Fine and medium grit sandpaper
- Spackling compound / patch filler
- Primer (if needed)
- Paint (your accent color)
- Paint roller and tray
- Angled paintbrush (for cutting in)
- Extension pole (optional)
- Painter’s bucket or smaller pail
- Clean rags or sponge for wiping
3. Prepare the Wall & Room
- Move furniture away and protect adjacent floors or items.
- Remove outlet covers, switch plates, and any hardware.
- Inspect the wall for holes, cracks, bumps, or peeling paint — patch and sand them smooth.
- Wash or wipe the wall to remove dust, grease, or grime (especially in kitchens).
- Lightly sand patched areas to feather them into the surface.
4. Prime (if necessary)
- If your accent color is much darker than the existing wall, or you're painting over a bold hue, use a primer or stain-blocking base.
- Let primer dry fully before painting.
5. Tape Off Adjacent Surfaces
- Use painter’s tape to mask ceilings, baseboards, trim, and adjoining walls.
- Press tape edges firmly so that no paint seeps underneath.
6. Cut In Edges
- Use your angled brush to “cut in” — paint a border around taped areas (ceiling, corners, trim).
- Paint about 3 to 6 inches from edges, leaving the rest for your roller.
- Work in small sections and maintain a “wet edge” so the finish looks cohesive.
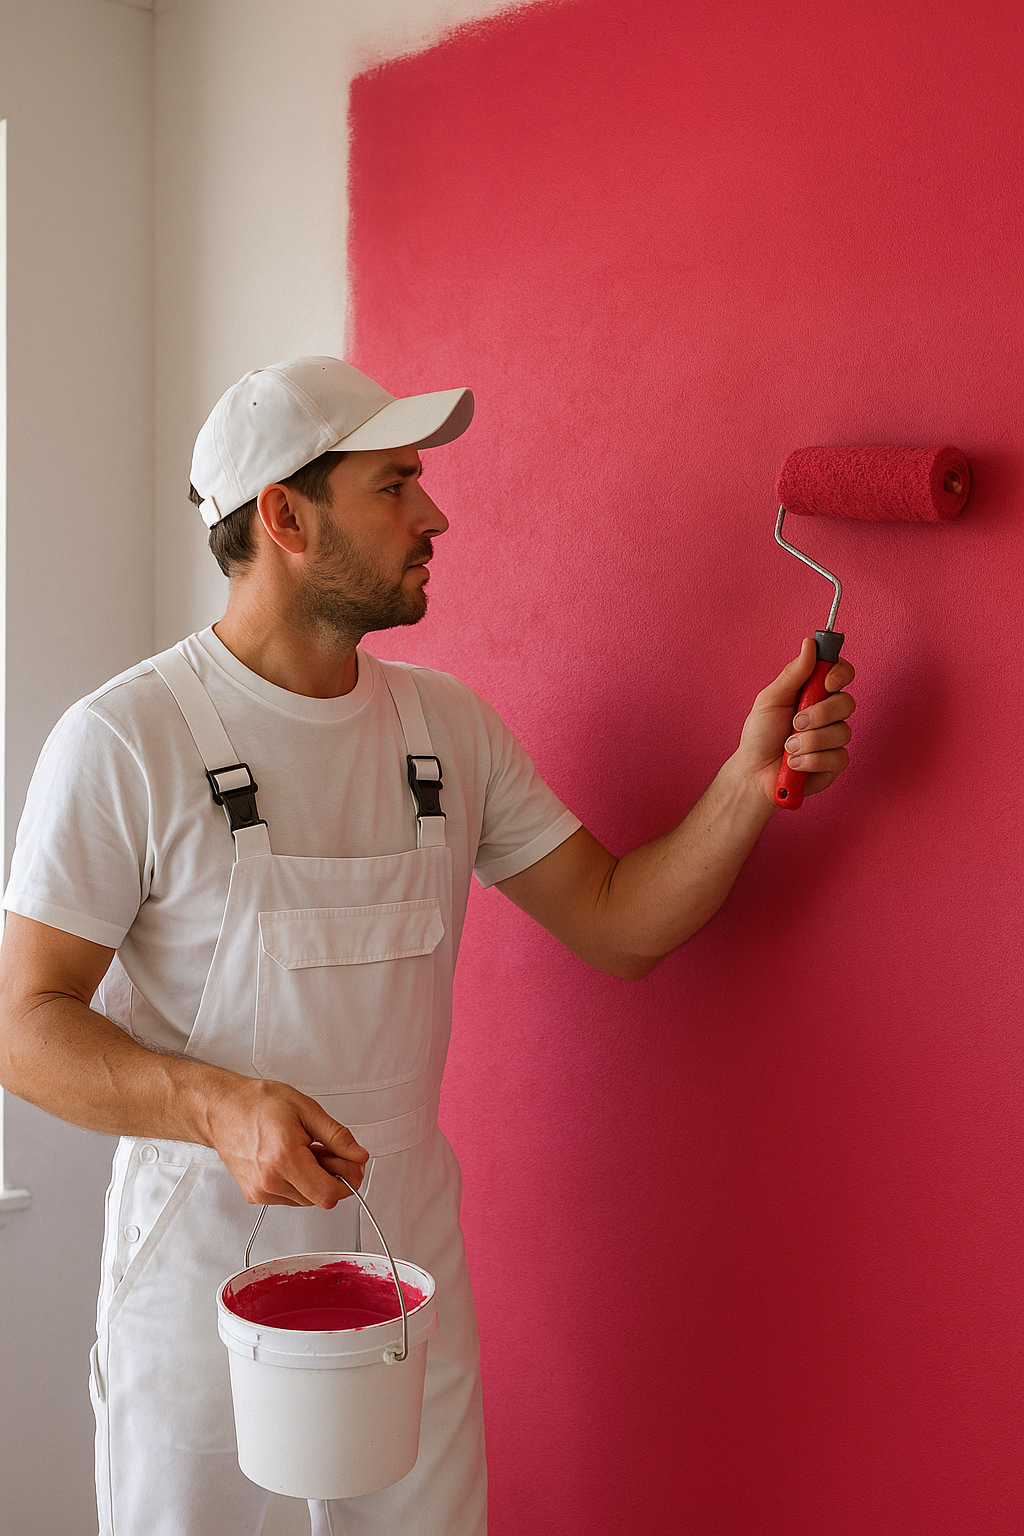
7. Roll the Wall
- Pour paint into your tray or bucket.
- Load the roller evenly and roll off excess.
- Paint in a “W” or “M” pattern, then fill in. Move top to bottom, then laterally.
- Work in manageable sections so the paint doesn’t settle unevenly.
8. Apply Additional Coats
- Let the first coat dry according to manufacturer instructions, then assess coverage.
- Many times two coats are needed for even color and richness.
- Always maintain a wet edge between coats for consistent texture.
9. Remove Tape & Touch Up
- Pull painter’s tape slowly and at an angle while paint is still slightly damp.
- Inspect the edges and do minor touch-ups using a fine brush.
10. Clean Up & Enjoy
- Clean brushes, rollers, trays with water (latex) or appropriate solvent (oil-based).
- Reattach outlet covers and move furniture back.
- Let the paint cure before placing decor or leaning objects against the feature wall.
Conclusion
Painting a feature wall that pops is as much about preparation and technique as it is about the color choice. With thoughtful planning, precision cutting in, smooth rolling, and clean edging, your accent wall can elevate the entire room.
